Guides
Your First Cider Batch
Cider ferments straight from juice with no mash and no boil, so a kettle, mash tun, or propane burner is not required, just a sanitised fermenter, yeast, and an airlock.
A one gallon starter kit such as the Craft A Brew Hard Cider Making Kit gets a first batch through primary fermentation in about one to two weeks, though bottling should wait until a hydrometer reading holds steady across several days, not just a set number of weeks.
What cider actually needs, and what it skips entirely
Beer brewing revolves around converting starch in grain into fermentable sugar, which is why kettles, mash tuns, and burners exist in the first place. Cider starts from apple juice, which already contains fermentable sugar the apple produced on its own, so none of that conversion step applies. There is no mash to run and no wort to boil, which means a first cider batch needs none of the equipment built around those steps.
What cider does need is straightforward: a sanitised fermenter with an airlock, a source of juice free of preservatives that would block fermentation, a suitable yeast, and a hydrometer to track when fermentation has actually finished. Everything else, bottling gear, a siphon, sanitiser, is shared with beer brewing and does not need to be bought twice.
- No kettle needed, juice does not get boiled
- No mash tun needed, there is no starch to convert
- No propane burner needed for the same reason
- A fermenter, airlock, yeast, and a hydrometer are the real requirements
Picking a starting kit
A packaged cider kit is a reasonable way to start a first batch, since it bundles a fermenter, airlock, and often yeast and other small items sized for a specific batch volume. The kits differ mainly in batch size and what is included beyond the fermenter itself, so matching the kit to how much cider you actually want from a first attempt matters more than any single feature.
| Kit | What it centers on | Best for |
|---|---|---|
| Craft A Brew Hard Cider Making Kit | One gallon fermenter and core gear | A small first batch with minimal upfront commitment |
| MUST BEE Hard Cider Making Kit | One gallon batch format | A budget-friendly small first attempt |
| Northern Brewer Hard Cider Essential Equipment Kit | Fuller equipment set for a larger batch | A brewer ready to commit to a bigger batch right away |
| Cider House Select Apple Cider Making Kit | Mid-size batch format | Scaling up once a first small batch has gone well |
Juice: what to look for
Not every juice on a store shelf is fermentable as-is. Juice preserved with potassium sorbate or sodium benzoate is specifically designed to prevent fermentation, so it will resist or completely stall yeast activity no matter how healthy the pitch. Pasteurized juice with no added preservatives, whether from a grocery store or a local press, ferments normally and does not need to be boiled first, since pasteurization has already addressed the pathogen concern a boil would otherwise handle in a beer wort.
Some brewers still add a Campden tablet to fresh-pressed or homemade juice specifically to knock back wild yeast and bacteria that a commercial pasteurization step would already have handled, then wait roughly a day before pitching a chosen yeast so the sulfite has time to dissipate. This step is generally unnecessary with juice that is already pasteurized and preservative-free straight off a store shelf.
Yeast: cider is more flexible than it looks
Traditional cider making often uses a wine or champagne-style yeast, but a widely used and simpler convention among home brewers is fermenting cider with a clean ale yeast such as US-05, the same strain used in plenty of beer recipes. It produces a dry, relatively neutral profile that works well for a first cider batch without needing a separate yeast just for this style. Packaged cider kits typically include a yeast packet already chosen for their specific recipe, so following the included instructions is the simplest path for a first attempt.
A realistic timeline
Primary fermentation for a cider typically shows visible activity, airlock bubbling and some foam, within the first day or two, and most of that activity tapers off within one to two weeks depending on the yeast strain and the starting gravity of the juice. That timeline is a general expectation, not a fixed countdown, and the only real way to know fermentation has actually finished is a hydrometer reading that holds steady across several consecutive days rather than a single reading taken on a schedule.
Racking off the yeast
Once primary fermentation has settled down, most of the yeast and fruit sediment falls to the bottom of the fermenter as a compact layer of trub. Racking, siphoning the clearing cider off that sediment into a clean, sanitised vessel, leaves the heaviest sediment behind and gives the cider a head start on clarity before bottling. An auto siphon started above the sediment line and eased down slowly avoids stirring that layer back into suspension, which is the main thing to watch for during the transfer.
Racking is optional for a very simple first batch, since some cider makers bottle directly off the primary fermenter once gravity has stabilized, but it is worth doing if the cider still looks cloudy or if it will sit for an extended stretch before bottling, since leaving cider sitting on a thick layer of dead yeast for a long period can eventually introduce off flavors of its own.
Why backsweetened cider is the classic bottle bomb
Fermented cider finishes dry, since the yeast consumes essentially all of the fermentable sugar from the juice, which is not the sweetness profile many people actually want in a finished cider. Adding sugar or fresh juice back into a dry cider to sweeten it before bottling is a common instinct, and it is also the most common way cider drinkers accidentally create a bottle bomb. Any sugar added after fermentation gives the yeast still present in the cider something new to ferment, and if that happens inside a sealed bottle, the carbon dioxide produced has nowhere to go.
There are three real ways to backsweeten safely: stabilize the cider first with potassium sorbate together with a metabisulfite such as Campden, which together prevent the remaining yeast from restarting fermentation on the new sugar; pasteurize the finished, sweetened, and bottled cider with gentle heat to kill the yeast outright; or keep the backsweetened cider refrigerated and drink it within a short window rather than storing it at room temperature, since cold slows yeast activity enough to buy some time without fully stopping it. Skipping all three and simply bottling backsweetened cider at room temperature is how bottles end up exploding.
Bottling and basic gear
Bottling cider uses the same equipment and process as bottling beer: an auto siphon to transfer without disturbing sediment, priming sugar if carbonating in the bottle, and either capped bottles or swing-top bottles depending on preference. Still, uncarbonated cider skips priming sugar entirely and can be bottled flat, which is a simpler option for a first batch if carbonation is not a priority.
Sizing your first batch
A one gallon batch is a reasonable size for a genuinely first attempt, since it uses less juice, takes up less fermenter space, and limits the cost of a mistake while you get comfortable with sanitation and gravity readings. A larger batch, in the 5 gallon range that most beer equipment is built around, is not any more difficult in terms of process, it simply scales up the juice volume, the fermenter size, and the yeast pitch proportionally.
Many first-time cider makers start small specifically to confirm they enjoy the process and the resulting cider before committing to a larger batch and the equipment that comes with it. Once a small batch has gone well, scaling the same recipe up to a 5 gallon fermenter is a straightforward next step rather than a different process entirely.
What a "clean" fermentation actually looks like
A healthy cider fermentation typically shows visible airlock activity within a day or two of pitching, a layer of foam or krausen on top that gradually settles, and a gradual clearing of the liquid as fermentation winds down and yeast begins to settle out. A batch that shows no airlock activity at all after a couple of days is worth checking, since it can point to a sluggish or failed yeast pitch, often from juice that still had preservatives in it or from yeast that was old or improperly stored before use.
A stuck fermentation, one that stalls well above where the recipe should finish, is less common with simple juice-based cider than with higher-gravity styles, but it can still happen from an underpitched or stressed yeast population. Confirming gravity with a hydrometer rather than relying on how active the airlock looks is the more reliable way to catch this early rather than after weeks have already passed.
Everything else worth considering
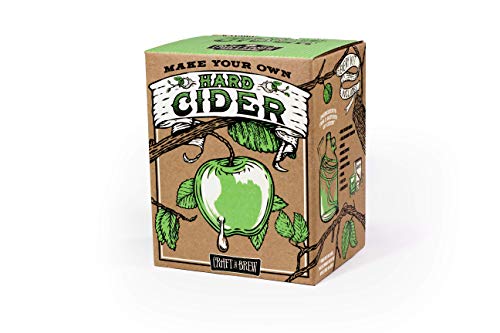
Craft A Brew Hard Cider Making Kit
Complete one gallon cider equipment and ingredient kit. Cider needs no mash, so it is the easiest first ferment.
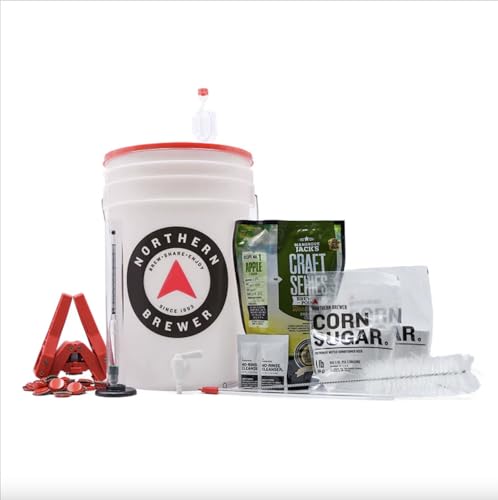
Northern Brewer Hard Cider Essential Equipment Kit
Equipment kit for cider, which you fill with store bought juice.

MUST BEE Hard Cider Making Kit (1 gallon)
Reusable one gallon cider kit.

Cider House Select Apple Cider Making Kit
Five and a third pound cider ingredient kit, sized for a full batch rather than a one gallon trial.

TAPCRAFT Campden Tablets (potassium metabisulfite, 50 count)
Removes chlorine and chloramine from tap water, which otherwise produce a medicinal off flavour.
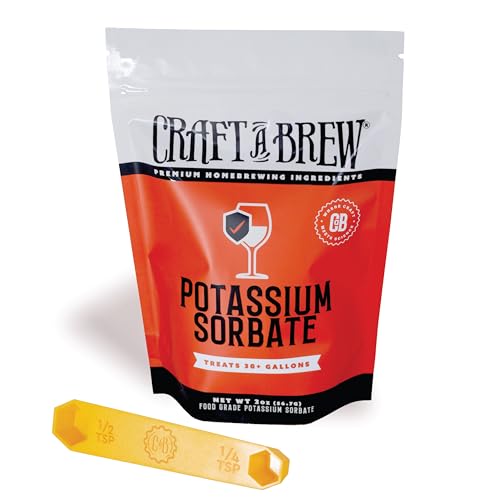
Craft A Brew Potassium Sorbate (2 oz)
Stabiliser used when back-sweetening cider or mead, which prevents the new sugar refermenting in the bottle.
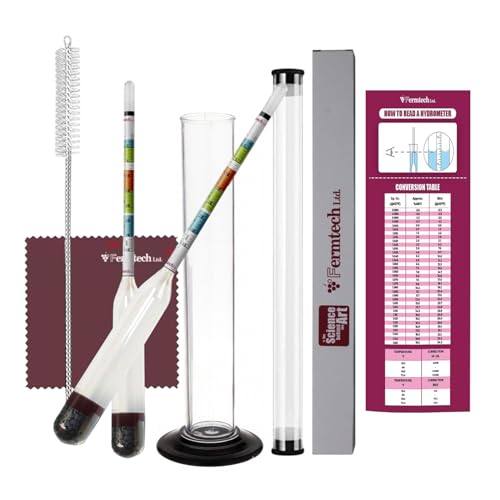
Fermtech Glass Triple Scale Hydrometer Kit
Triple scale glass hydrometer for beer, wine, mead and cider.

FastRack 6.5 Gallon Fermenting Bucket with Lid
Single food grade fermenting bucket with a drilled lid, the cheapest vessel that genuinely works.

Fermtech Mini Auto Siphon with Tubing and Clamp
Short auto siphon sized for one gallon and small batch fermenters.
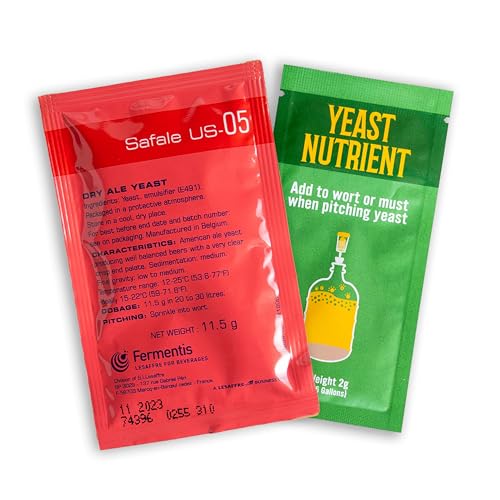
Safale US-05 American Ale Dry Yeast
The default clean American ale strain. Dry yeast needs no starter, which removes a whole step for a first all-grain batch.
Before you do this
Backsweetened cider is a classic bottle bomb. Adding sugar or fresh juice after fermentation gives any surviving yeast something new to ferment, and sealed glass has nowhere for the resulting carbon dioxide to go. Stabilize with potassium sorbate and a metabisulfite before backsweetening, pasteurize the bottled cider, or keep it refrigerated and drink it quickly, never bottle backsweetened cider at room temperature without one of those steps.
Related on BrewGearCalc
- Your first mead batch
- How to read a hydrometer
- ABV calculator
- Hydrometer correction calculator
- All guides
Frequently asked questions
- Do I need a mash tun or kettle to make cider?
- No. Cider ferments directly from apple juice, which already contains fermentable sugar, so there is no starch to convert and nothing to boil. All that is genuinely required is a sanitised fermenter with an airlock, yeast, and a way to check gravity with a hydrometer. A kettle, mash tun, or propane burner from beer brewing sits unused for a cider batch.
- How long does cider take from start to bottling?
- Primary fermentation commonly shows most of its activity within one to two weeks, but that is a general expectation, not a fixed schedule. The only real proof fermentation has finished is a hydrometer reading that stays the same across several consecutive days. Bottling on a calendar date rather than a confirmed stable reading risks bottling before fermentation is actually done.
- Can I use store-bought juice for cider?
- Yes, as long as it has no added preservatives like potassium sorbate or sodium benzoate, both of which are specifically meant to prevent fermentation and will stall or block yeast activity. Pasteurized, preservative-free juice ferments normally and does not need to be boiled first, since pasteurization already addresses what a boil would handle in a beer wort.
- What yeast should I use for cider?
- A clean ale yeast such as US-05 is a commonly used, simple option that produces a dry, neutral profile well suited to a first cider batch. Traditional cider makers often reach for a wine or champagne-style yeast instead, though that is a style choice rather than a requirement. Packaged cider kits typically include a yeast packet already matched to their specific recipe.
- Is it safe to backsweeten cider before bottling?
- Not without stabilizing it first. Adding sugar or juice back into a finished cider gives any yeast still present something new to ferment, and if that happens inside a sealed bottle it is a classic bottle bomb. Stabilize with potassium sorbate plus a metabisulfite before backsweetening, pasteurize the bottled cider afterward, or keep it refrigerated and drink it within a short window instead.
- How do I know my cider is actually done fermenting?
- Check gravity with a hydrometer across several consecutive days rather than relying on a calendar estimate or the airlock going quiet, since airlock activity can slow down well before fermentation has truly stopped. A reading that holds perfectly steady for a few days in a row is the only reliable confirmation, and it applies to cider the same way it applies to beer or mead.
Researched from published brewing formulas, manufacturer specifications and verified owner reviews. This is general guidance, not professional advice.